DIY Hardwood floors under $1.50/sq ft.
Today I’d like to share with you a project that we did several years ago in one of our flip houses. Every time we remodel a house, we try to get the best possible look for the least possible price. Honestly, you would think that everyone would want to do this, but I have found that is not always the case. There are many flippers that just throw in the cheapest carpet they can find and basic builder oak kitchen and call it a day.
That is not what we do.
While it might take a little longer to accomplish, we like to diy everything ourselves. Doing the work ourselves saves us a TON of money and assures the attention to detail is kept to our exacting standards.
So instead of putting down cheap laminate or carpet, we decided to DIY hardwood floors which would really increase the value of the house. However, being the cheap frugal people we are, we also wanted to find the very best deal we possibly could.
If you’ve ever shopped for hardwood flooring before, you know that it is not cheap. I personally love the look of wide planks too (4 inches wide or more) and those are even more expensive! Prices for this sized hardwood flooring easily run $5-$10+ per sq. ft which was way out of our budget. So after scouring the interwebs and local stores, I finally stumbled upon these from Lumber Liquidators:
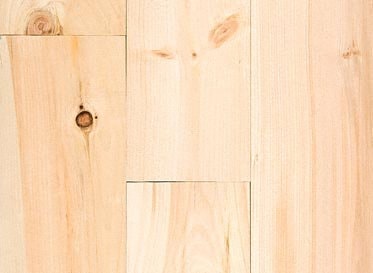
And the best thing was they were only $0.99 / sq ft! The price has since gone up to $1.29/ sq ft but that is still an awesome deal for REAL HARDWOOD FLOORS!
But wait they’re unfinished and I don’t know how to finish floors, you might be saying… well guess what? It’s really not hard at all and you can absolutely do it yourself if you’re willing to put in a little time and effort.
Hubby has installed lots of flooring before so he knew what to do, but if you have never done it before check out this tutorial: how to install pine floors. One thing to note, he chose to install them by screwing them down on the face of the board, rather than nailing into the tongue. He was worried about the boards not having tongues on the ends (I’m not sure if they have since changed this but check your boards prior to installation and determine which method you prefer.)
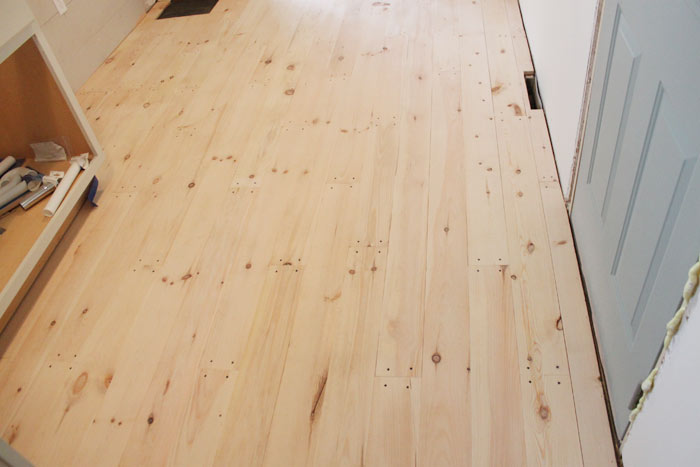
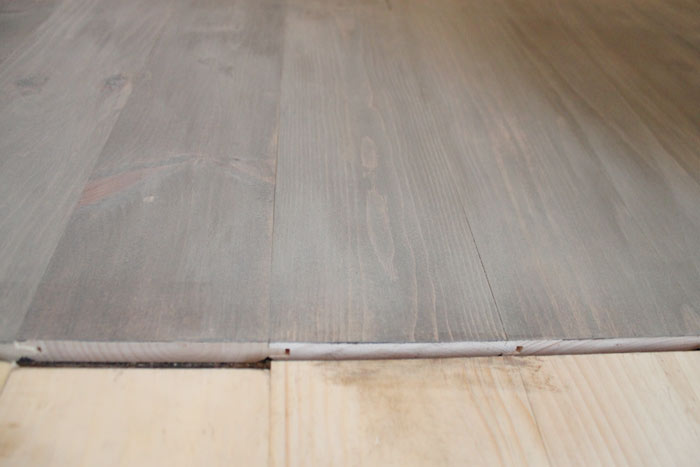
Here they are all screwed down:
Next, we filled the screw holes with wood putty. Then after the putty dried we gave everything a thorough sanding with our belt & orbital sanders (find a similar belt sander here and a similar orbital sander here. ) We installed approximately 700 sq ft of this floor, but if you’re doing a larger amount you might want to rent a floor sander. We chose not to – due in most part to our cheapness thrifty nature. 😉
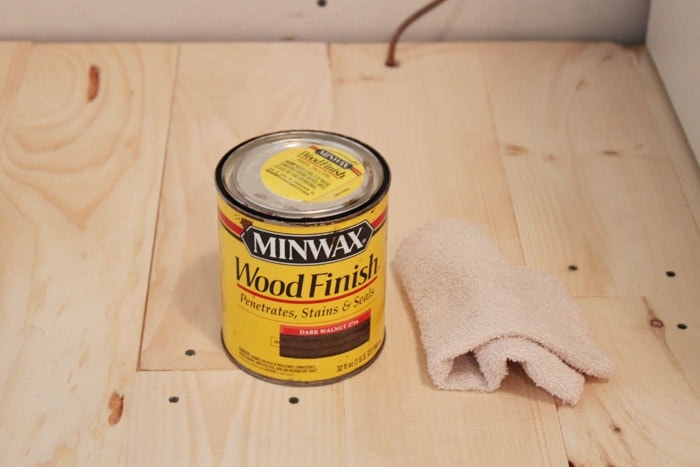
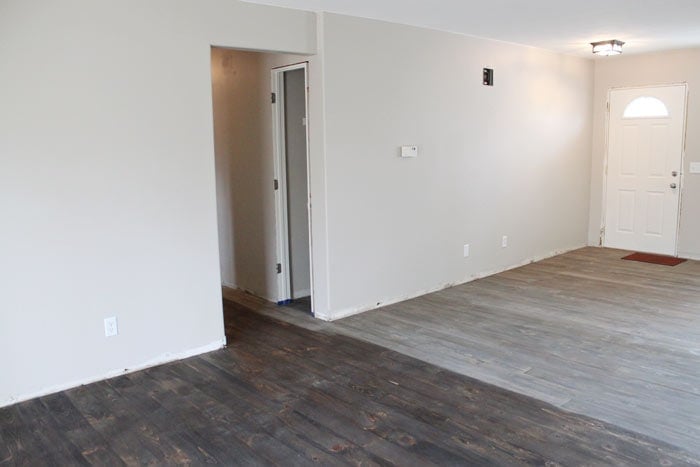
I decided I wanted to give the floors a driftwood / gray appearance and after a few test runs on sample boards, I finally found the right formula: Minwax Dark Walnut + watered down leftover wall paint.
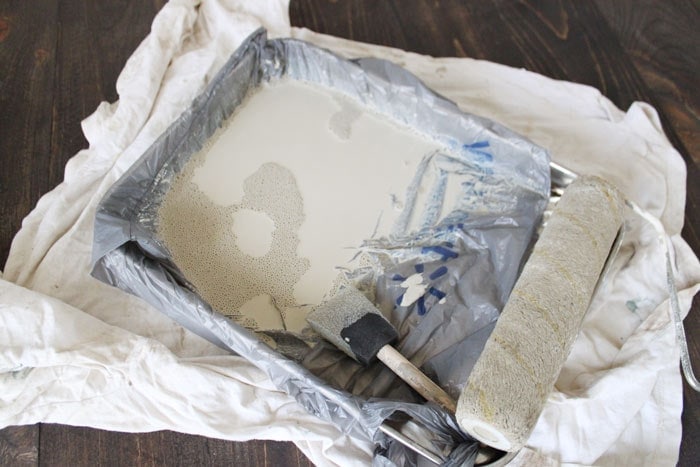
The wall paint we used was Moth Gray by Pittsburgh Paints but honestly, I think you could use any gray, beige, or white color you have lying around (just try it out on a sample board first!).
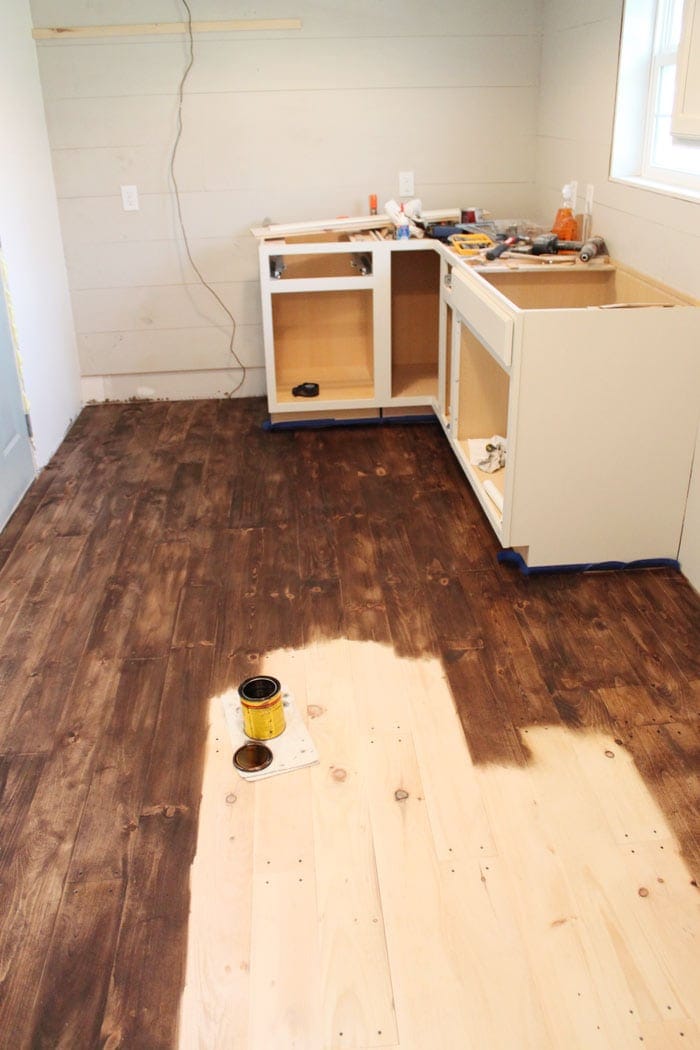
So after you’ve sanded your floor and wiped them clean, start staining with the Minwax Dark Walnut.
Doesn’t look too good at this point, does it? Don’t worry – it will get better!
Finish staining and let the floors dry overnight.
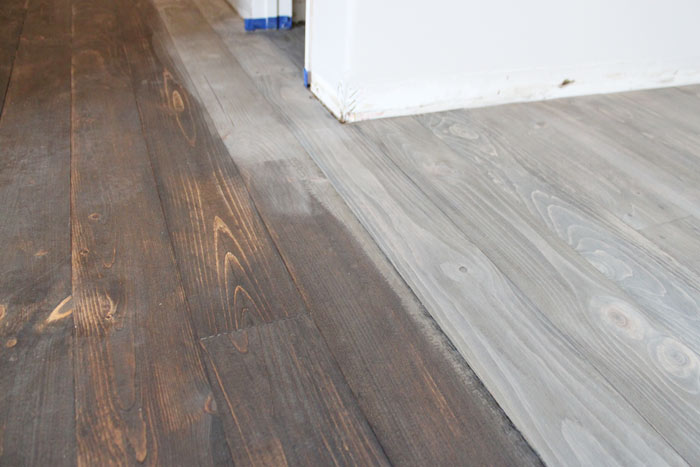
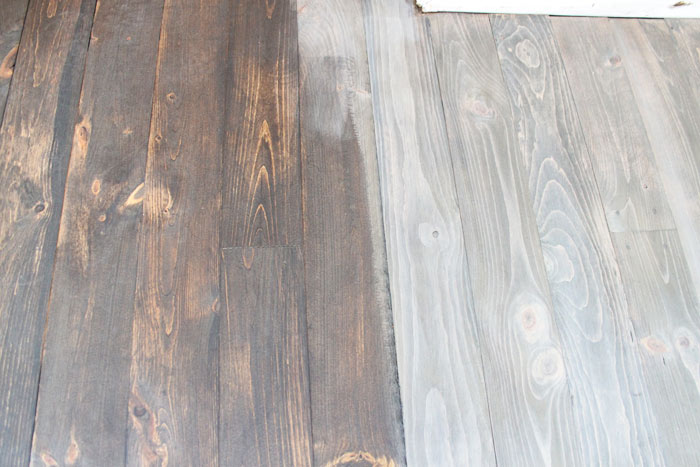
Dilute your paint with water at about a 3 parts water & 1 part paint ratio. You want it to be more of a stain consistency and not as thick as paint. Begin rolling on your paint/water mixture. Do about a 4 foot section at a time and then take an old cloth and wipe it off! Remember, this is not a painted floor – this is a type of stain so you want to wipe it off just like you would a stain. Continue on rolling and wiping off.
step back and marvel at your progress:
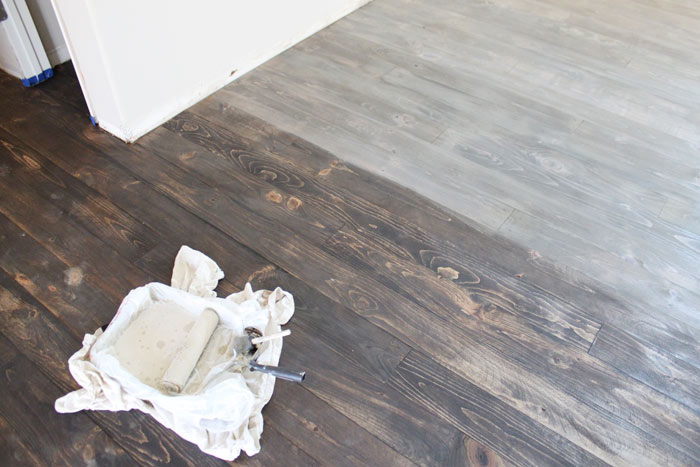
SO much better! If your back starts hurting just remind yourself that you are saving hundreds (probably thousands) of dollars by doing this yourself! Run to the nearest convenient store (or Casey’s if you’re in small town mid-America like me) and get yourself a Mountain Dew and Slim Jim – you deserve it!
Now that you’re all refreshed, it’s time to finish up!
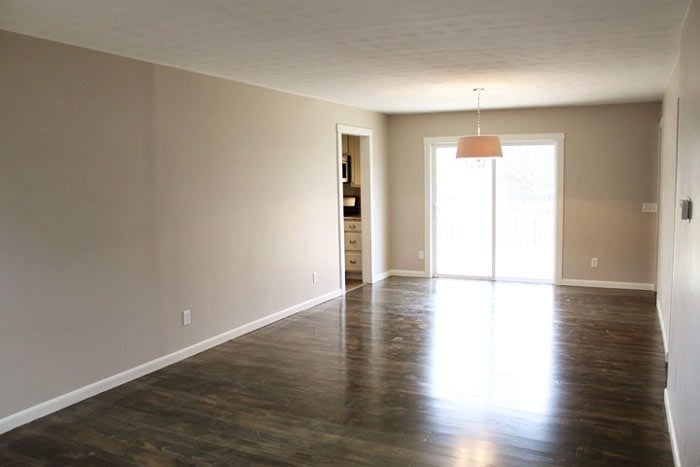
The final step is to apply several coats of poly for durability and to make your floors easier to clean. I prefer water based poly because it remains clear and doesn’t give your new floors that yellow haze that oil based polys sometimes create. Wait at least 48 hours before moving furniture onto your newly poly’d floors.
Stand back and admire your new super inexpensive REAL DIY HARDWOOD FLOORS!
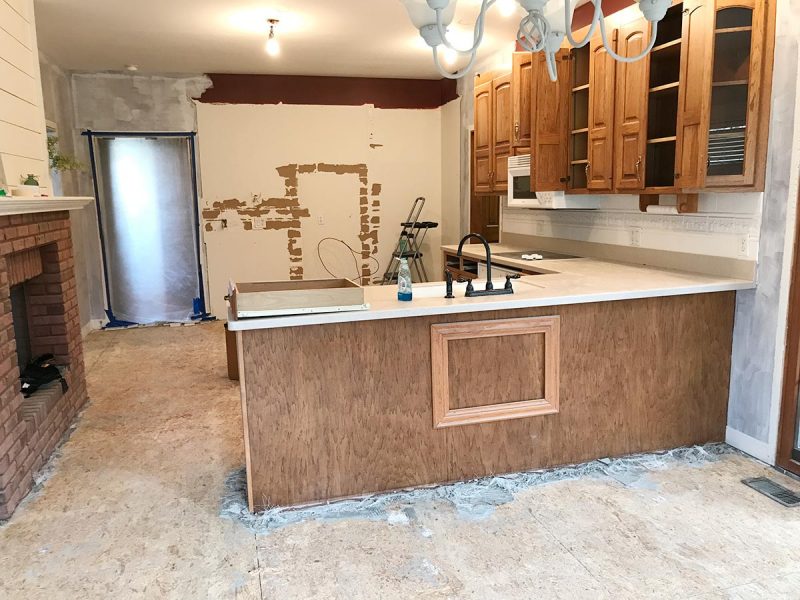
UPDATE: the full reveal of this house is posted here. Just shield your eyes from the lovely red and brown kitchen before pics – don’t say I didn’t warn you 😉
If you want more DIY tips and awesome home decorating ideas follow me on Pinterest.
*some links are affiliate links. you don’t pay any extra, but I make a small commission proving to my hubby that I can actually make a small amount of money blogging. win-win!
Linking up to these fabulous parties:
Morning Cup of Joe | Weekend Retreat



Wow, these are beautiful!!!
thanks Michelle!
The floors look amazing! Can you tell
me where you got the hanging drum light fixture? Been looking for one that is reasonably priced.
Hi Carol – this was from a flip we did a few years ago, so that particular light is no longer available but I found a few good options for you http://fave.co/1TeC35n and http://fave.co/1TeBOYe . Hope this helps 🙂
I read where polycrylic is not durable enough for floors. Wouldn’t a water-based product like Varathane (for floors) be a better sealer?
hmmm, I haven’t heard that – but thanks for the tip. You could definitely use Varathane if you’d like. This was just what we had on hand – but I do recommend doing your research to determine which products work best for you. Bona Traffic is supposed to be the Holy Grail of wood floor sealer (check out those reviews on Amazon!) but it is quite a bit more expensive. But I’m thinking of biting the bullet and using it in our next project. Thanks for stopping by Kimberly!
Love these floors. But do you know how would these floors hold up to dogs etc with respect to durability?
Thanks so much Teresa! Pine is traditionally a softer wood than oak or maple, so it may mark or show scratches easier than those woods. However, pine floors are a favorite with the designer Joanna Gaines (from the hit show Fixer Upper) and she even installed them in her new store Magnolia Market, which has to get a lot of foot traffic – right? 🙂 If you don’t care for the distressed look though, I would recommend using a floor with a factory finish which will hold up better to dog traffic (but will be more expensive). You might also want to look into laminate, which holds up well to scratches. Good luck!
A wood look tile might be a good option. Not cheap but definitely will hold up with dogs. I have real wood in my living/dining area, but used a matching laminate in my den where the dog hangs out. Very durable.
Great point! We used a wood look tile from Lowes in a foyer once and it turned out beautifully! Highly recommend if you need something more durable.
Wish I had seen this before I spent six grand on hardwood. This looks great. Thank you for sharing this. Love the Mountain Dew, SlimJim comment.
thanks so much Dee! I am not a coffee drinker so I cling to my Mt. Dew for my pick me ups, LOL 🙂
Your project is absolutely spectacular, but I am sorry to be the one to inform you, laminate flooring from ‘Lumber Liquidators’ has been shown to be a carcinogen/causes cancer. This was a very recent posting on World News Tonight, so I’m hoping you’ll search it and protect yourselves. ‘Lumber Liquidators’ is looking at a MASSIVE class action suit. Please, please protect yourself and your family !!
thanks for your thoughts Susi, but we used real pine wood for these floors. This was not laminate. But I do want to advise everyone to do their own research and decide which floors are best for their individual situation & home. Thanks for stopping by!
Make sure you have disposable encounter masks. Look at for
items of ground boards which have nail heads sticking up as these need to have to be punched down to about 1/eight of an inch
below the flooring boards. This can be done utilizing a
nail punch. If this is not done thoroughly the sandpaper will get torn.
We will be starting to refinish our existing hardwood floors so I’ve been trying to do my research as best as possible but still wanted to get your advise. I saw a video of Chip and Jo on the todays show about how to refinish hardwood floors and they said only 1 coat of polyurethane. is needed How many would you recommend and what is the benefits to additional coats? Thanks!
Hi Maddie, thanks for stopping by. Personally, I would recommend at least 2 coats of poly. The benefit to more coats, would be it would build up the protective layer on top of the wood and reduce the chance of scratches. For instance, if you have dogs or kids, etc… you might want to use several coats. Chip & Jo are big fans of the rustic look, so scratches and nicks might not bother them as much. It’s a matter of personal preference I think. Good luck with your project!
Thanks for your response! On that note…. Do you sand your floors in between poly coats? Thanks!
I think the best practice recommends sanding with a pole skimmer between coats. I’m not an expert though, so maybe do some research or call your local flooring company.
I would not advise polycrylic for floors. I redid mine 3 years ago this month and it had pretty much all rubbed off in about 6 months, 4 coats worth.
Thanks for your input Jenn, but we’ve been happy with the floors! 🙂