Brick Fireplace Makeover: Before and After
It can be easier than you think to turn your outdated fireplace into a gorgeous modern focal point. Read through the post to learn our tips and tricks to complete a brick fireplace makeover.

I thought I’d finally share some more details on Mouse House projects that didn’t get blogged about previously. We’re pretty darn happy with the way the brick fireplace makeover turned out so grab a cup of coffee and sit back and feast your eyes on this gorgeousness:
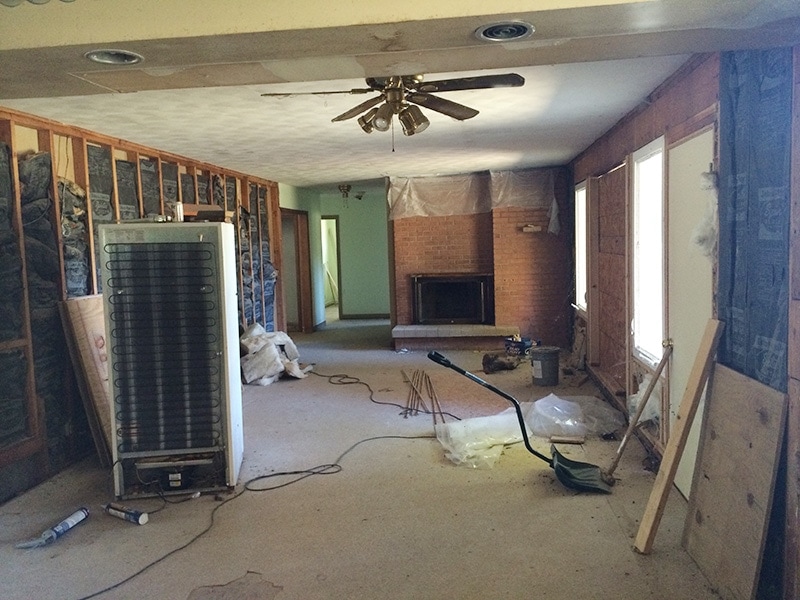
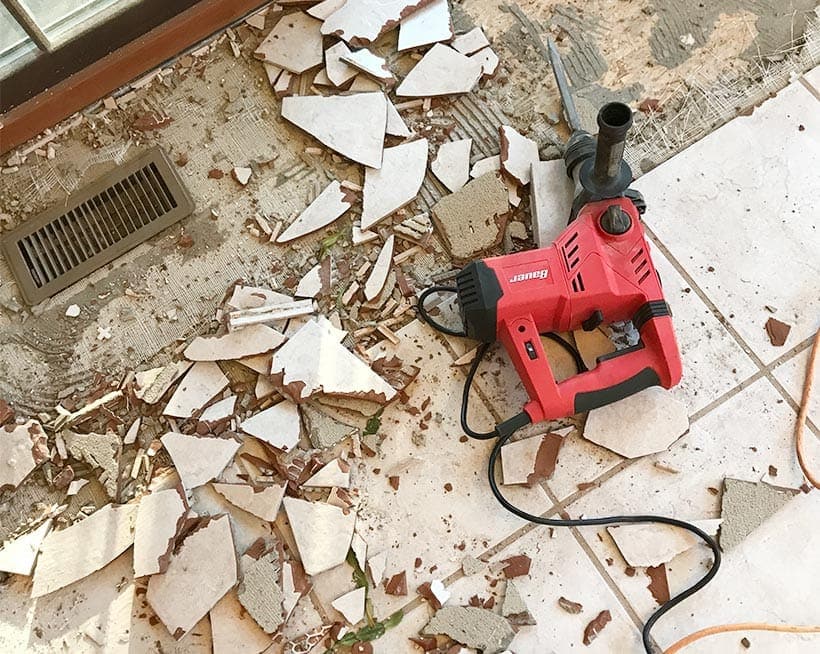
yeah. pretty huh? This is what Mouse House looked like on the day we took possession. Leftover Bud Light box was a bonus.
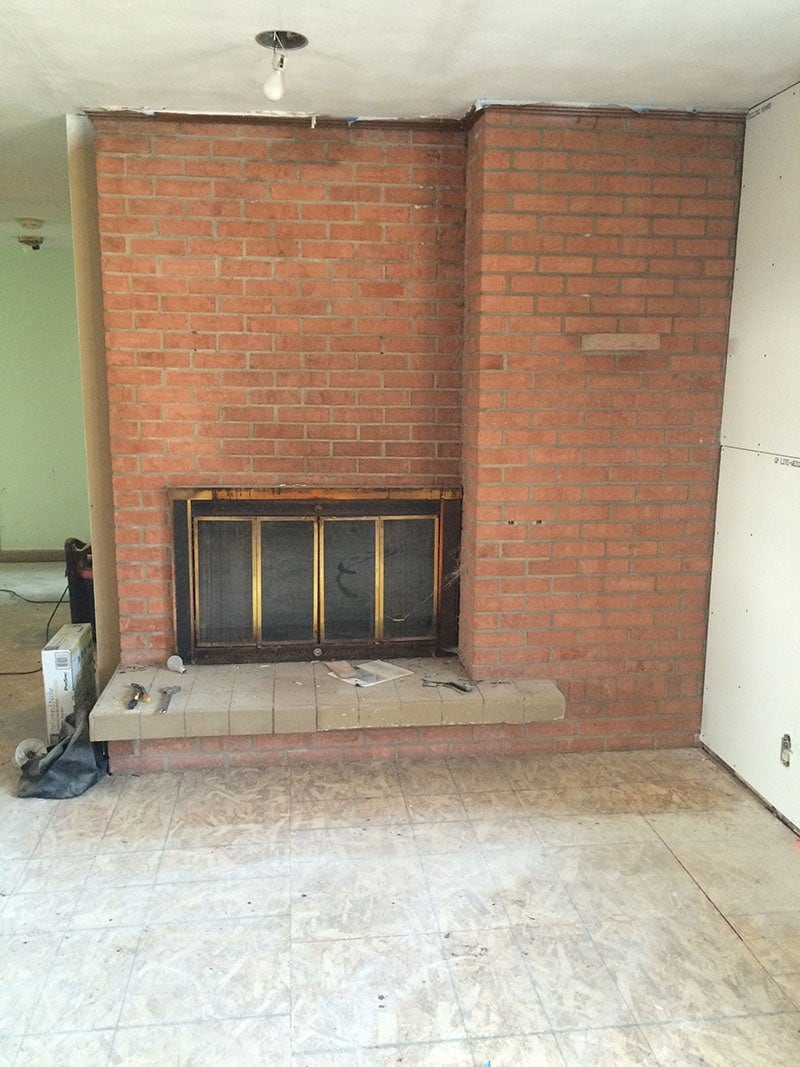
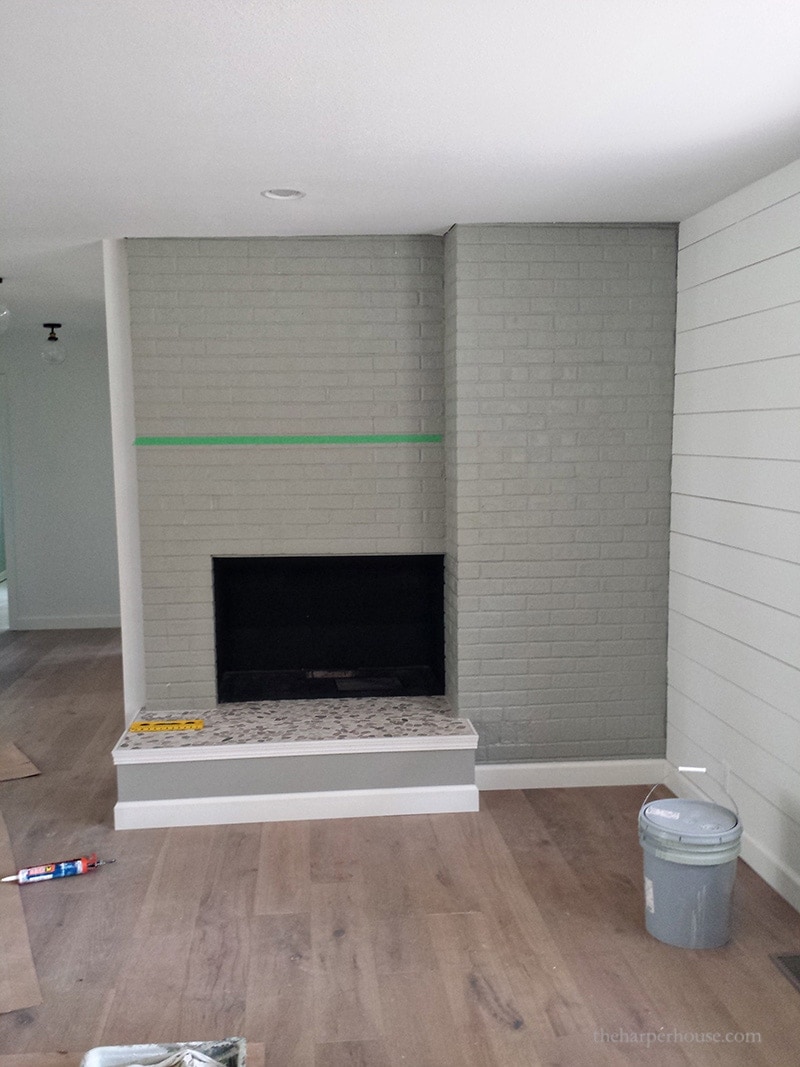
So this is what we had to work with. A giant floor to ceiling brick fireplace, circa about 1960. Not sure what the little ledge on the right was originally designed for? a vase of flowers? Aunt Edna’s ashes? who knows.
thankfully, it was easily cut off with Craig’s angle grinder (similar angle grinder on Amazon) and some hammer persuasion to flatten the facade and bring it into the 21st century. Since we were painting the brick, we simply wanted to remove the ledge and then we rebuilt the ‘brick’ surface back with mortar to match existing.
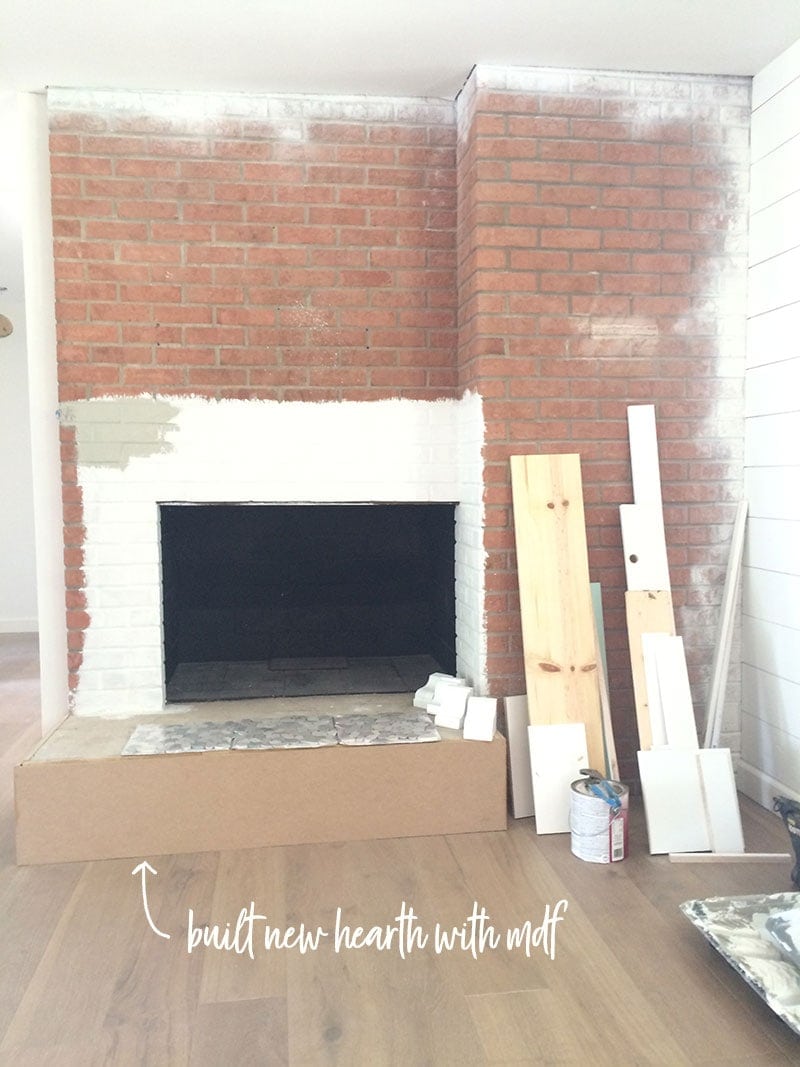
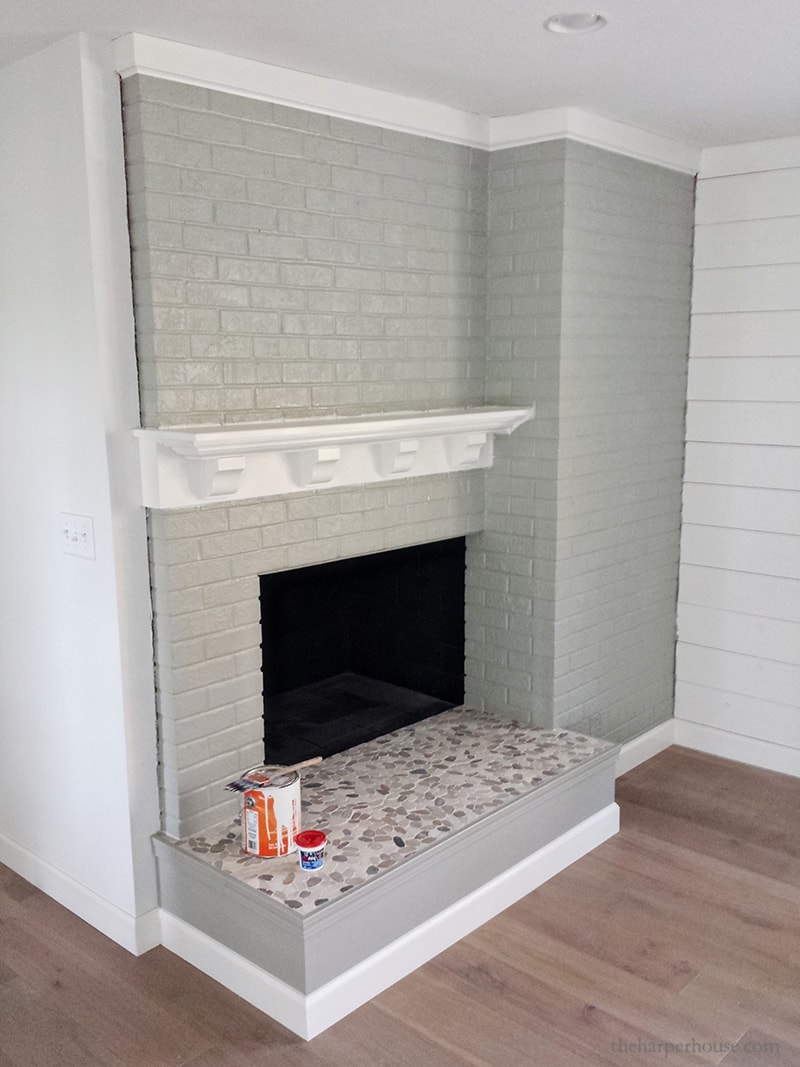
Craig then squared (rectangled?) off the hearth by building an mdf box around the current floating concrete hearth. He also attached plywood to the concrete hearth with concrete screws so that we’d have something to finish nail the MDF to.
Note too how he cut part of the hearth off to visually clean up the lines of the fireplace (otherwise, the hearth would have extended a weird 12 inches or so and been much too shallow to be useful for anything.)
I was originally thinking of wrapping the fireplace in a fun geometric wood treatment. But the easy fix (painting the brick fireplace) won out.
I don’t have any pictures on how to paint a brick fireplace, but here’s a great tutorial from Sherwin Williams that we basically followed. You definitely want to clean the bricks really well prior to painting!
fireplace paint color: FIELDSTONE by BENJAMIN MOORE
Choosing a Fireplace Tile
I found these fun sliced pebble mosaic tiles at Lowes and decided to use them for the seat of the hearth. I love the coastal farmhouse look and I think this tile fit that vibe perfectly! I found even cheaper tile for you from Wayfair to re-create the look. Shop more choices below by clicking the pics below. affiliate links used.


How to Tile a Fireplace Hearth
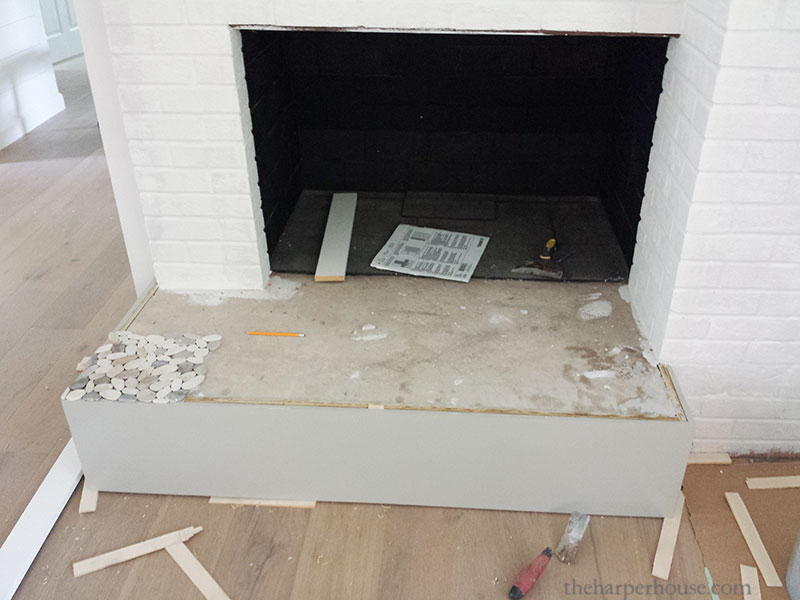
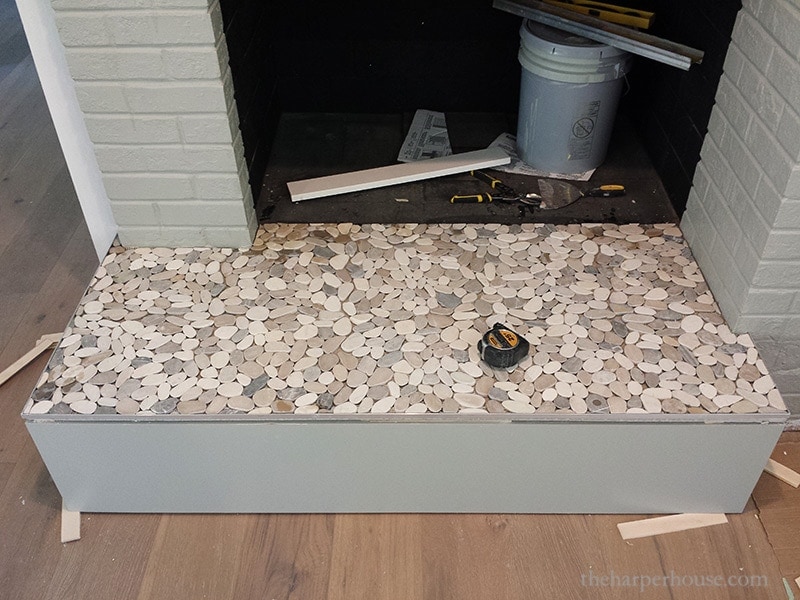
First we laid out the tile to get an idea of how they would fit together. We also decided to mortar in a piece of concrete board onto the existing, unlevel concrete in order to have a clean, smooth surface to lay the tile.
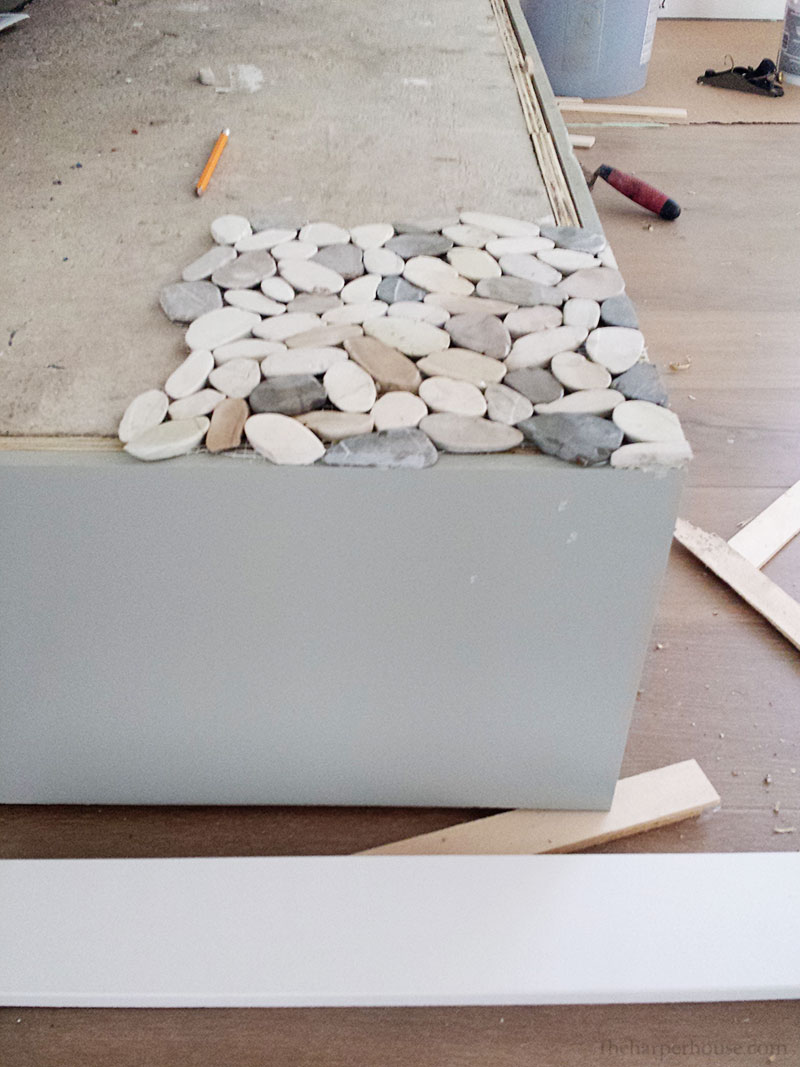
Craig used a metal tile edge to give the tile a clean look and hide the cut edges of tile. The metal tile edge is miter cut with a hacksaw and gets mortared in place with the tile. Wood trim will be installed over the metal tile edge for a nice clean look.
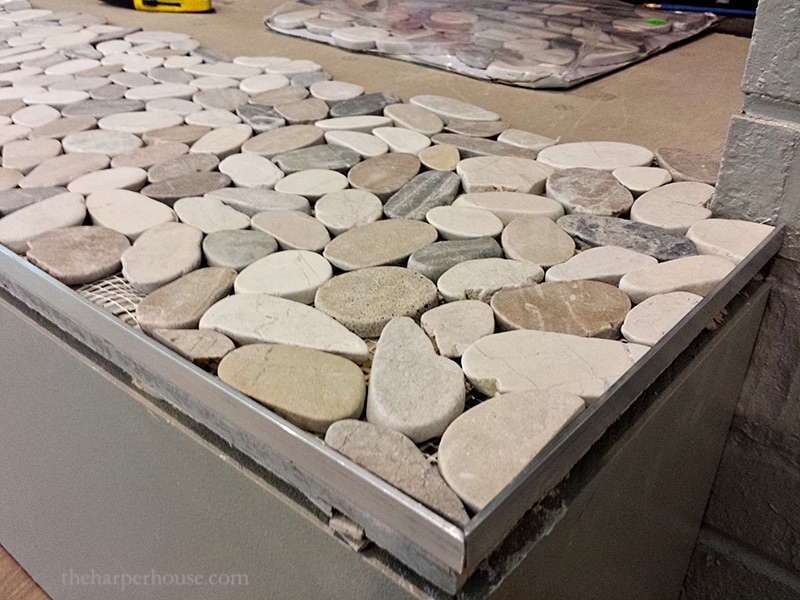
We pre-cut most of the tiles with a wet saw before-hand to make the mortaring process more efficient. Since some of the cuts required cutting only 1 pebble at a time, the angle grinder with diamond blade was the tool of choice.
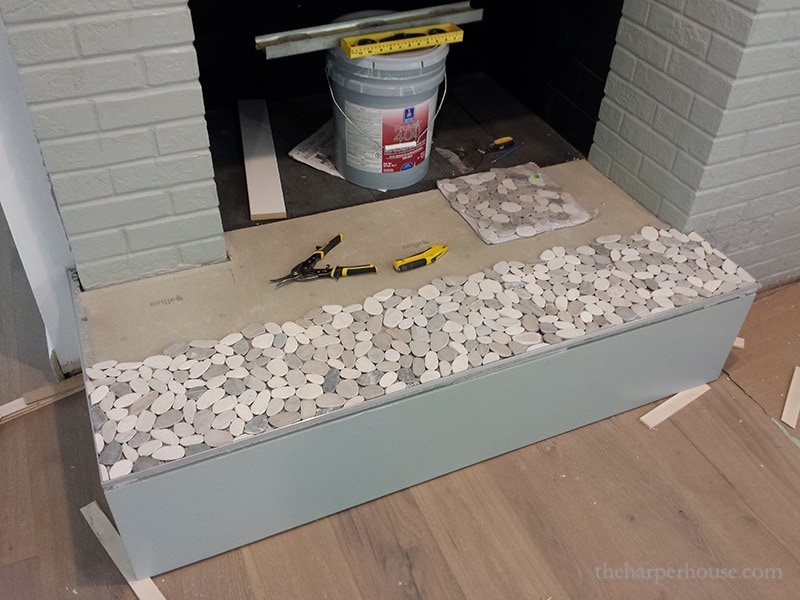
All of the tiles have been cut and dry-laid out. Ready for mortar!
(Mortaring and grout was a messy job – sorry, no pics!)
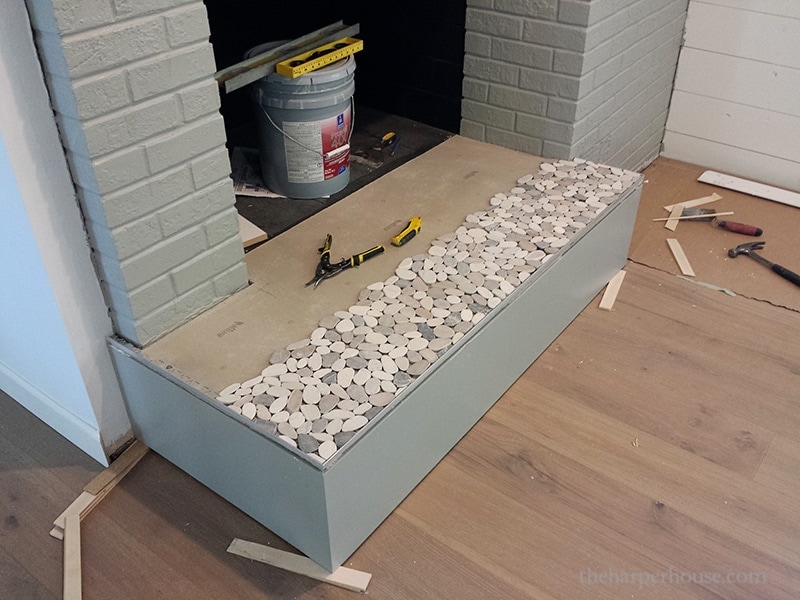
All the tiles have been laid into mortar and grout has been applied.
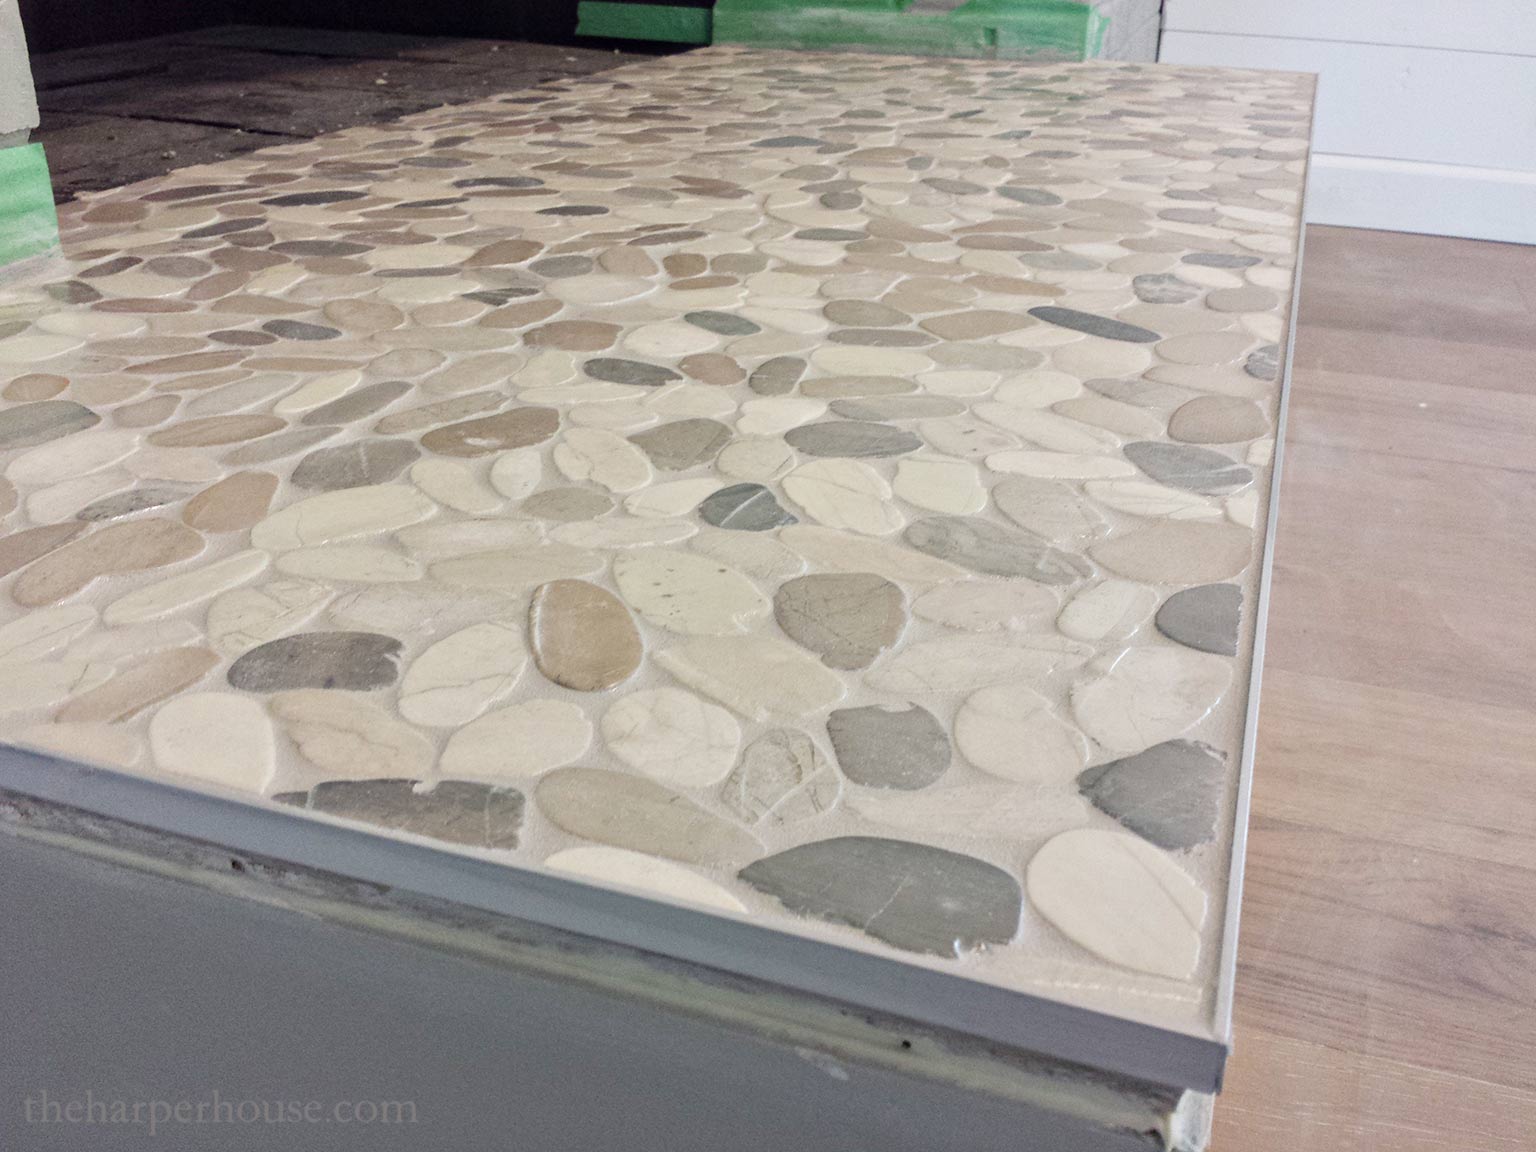
We then trimmed out the top edge with window trim and attached with finish nails to the fireplace skirting.
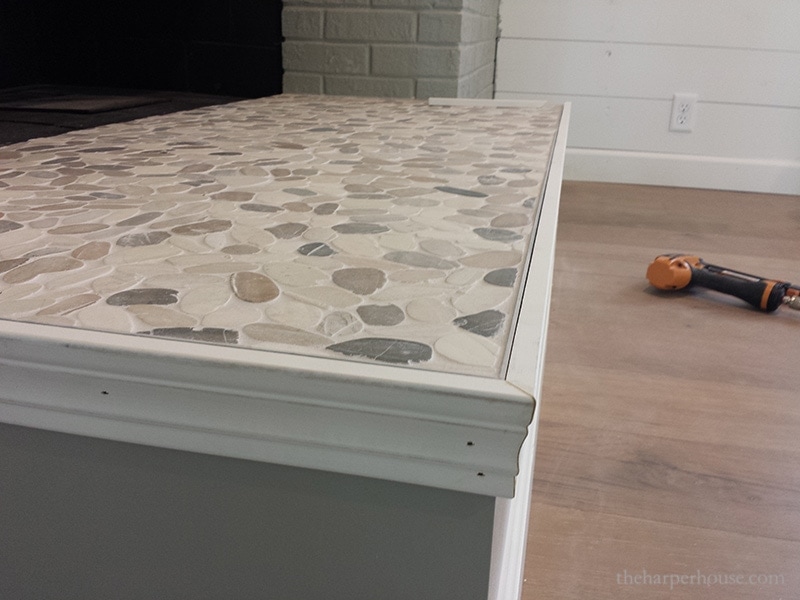

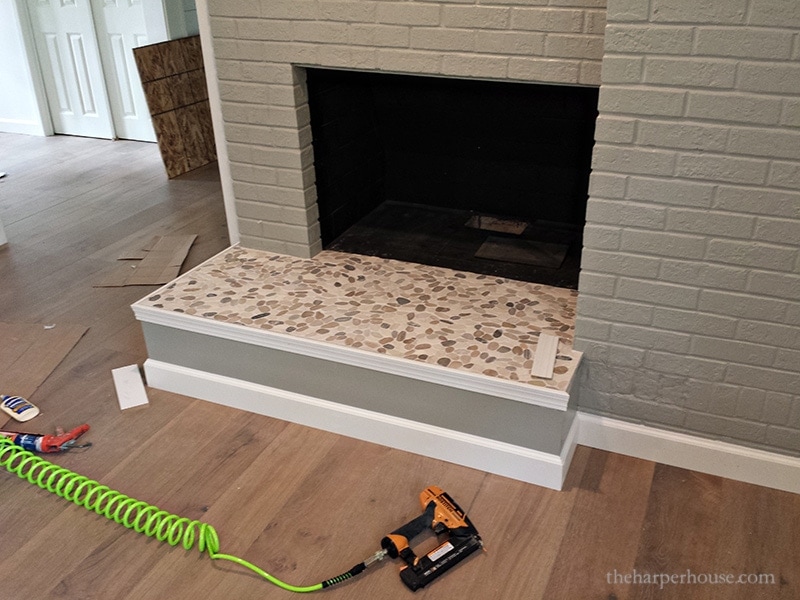
And continued the baseboard around the bottom. It’s looking better!
How to Build a Fireplace Mantel
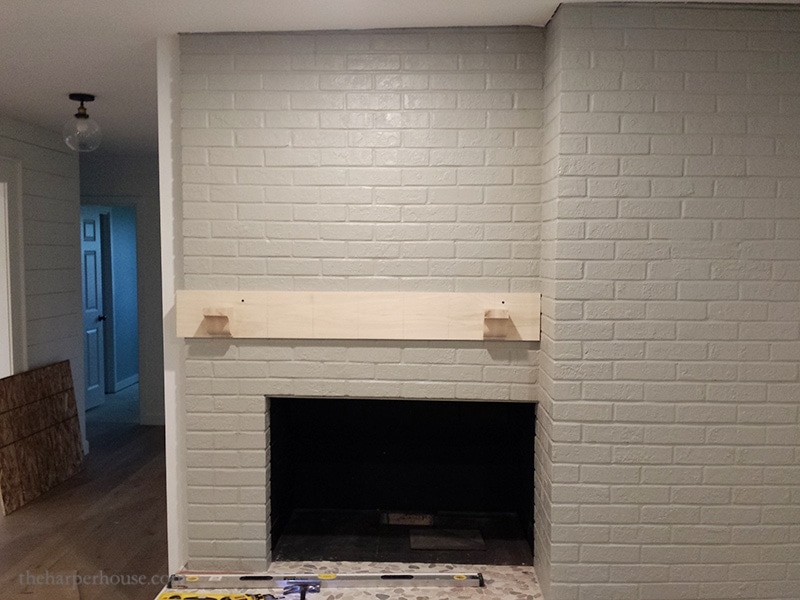
We used painters tape to help decide where the mantel would go.
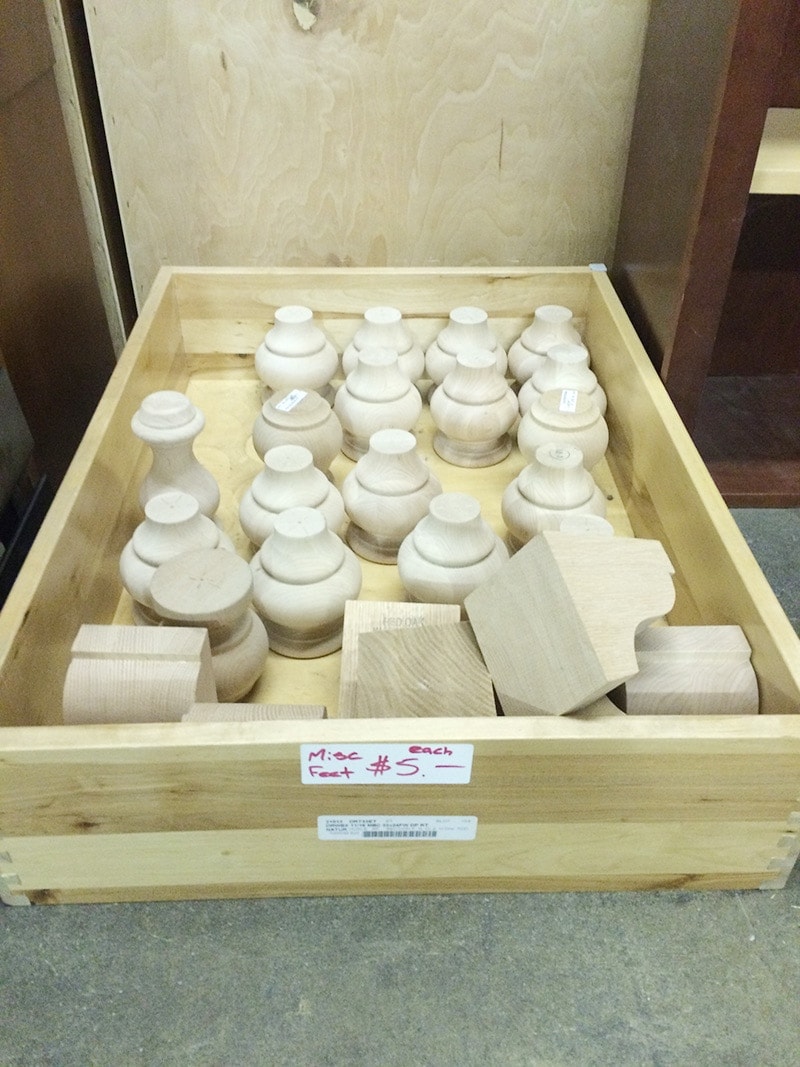
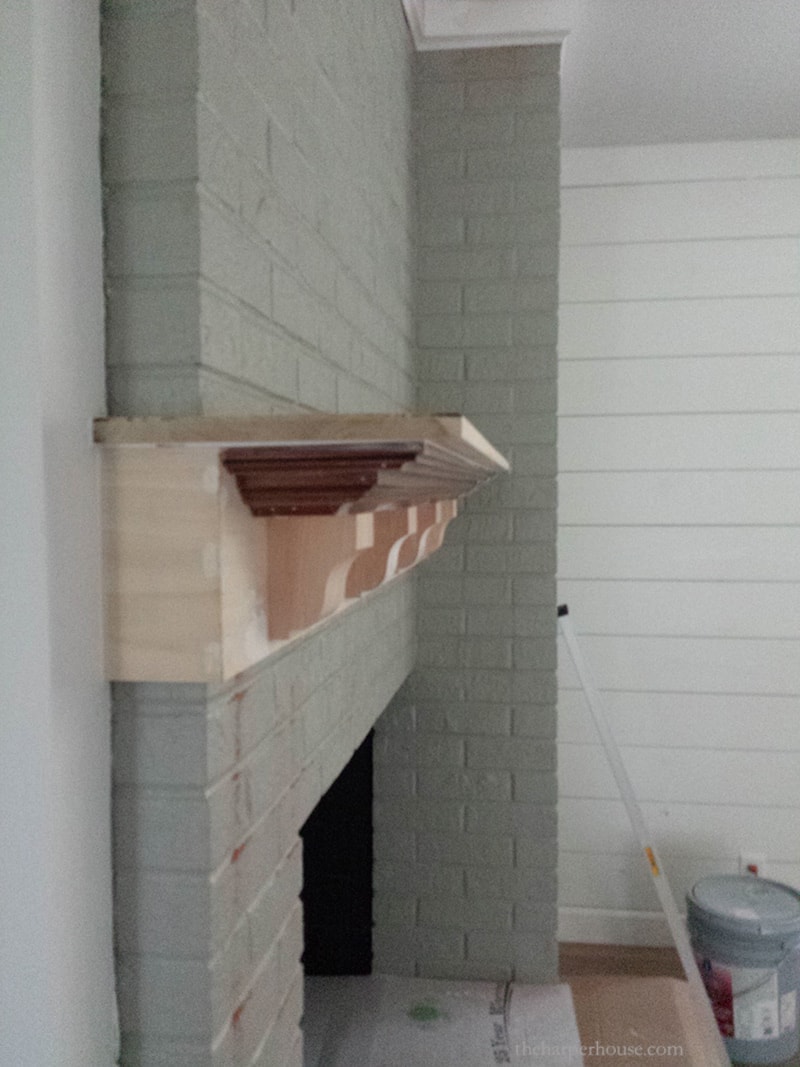
The back of the mantel was attached to the bricks with concrete screws. I stumbled across some wood corbels from our local cabinet factory outlet for only $5 each. Turned out they were the perfect accent for the fireplace mantel!
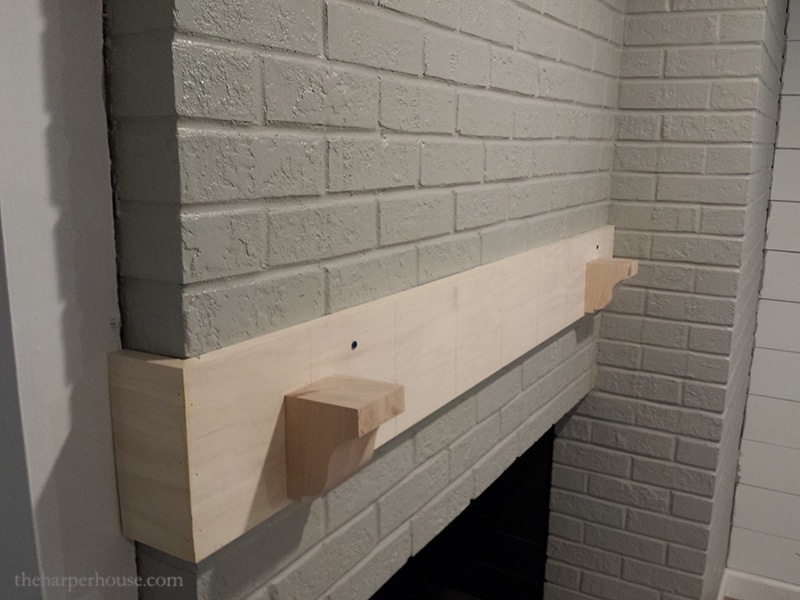
We had left over crown molding from another project so it was mitered/glued and then attached to the top of the corbels. Find similar corbels below:
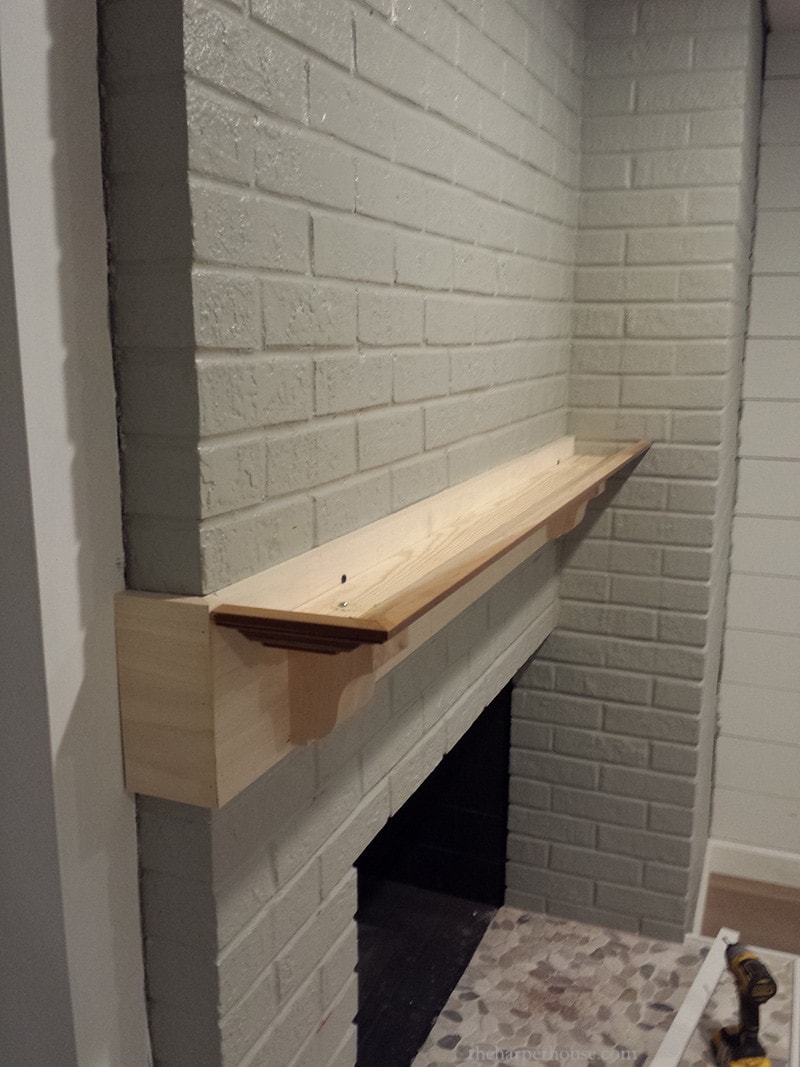
Additional corbels were added and a board for the mantel top was cut to sit on top of the crown molding and to fit around the brick.
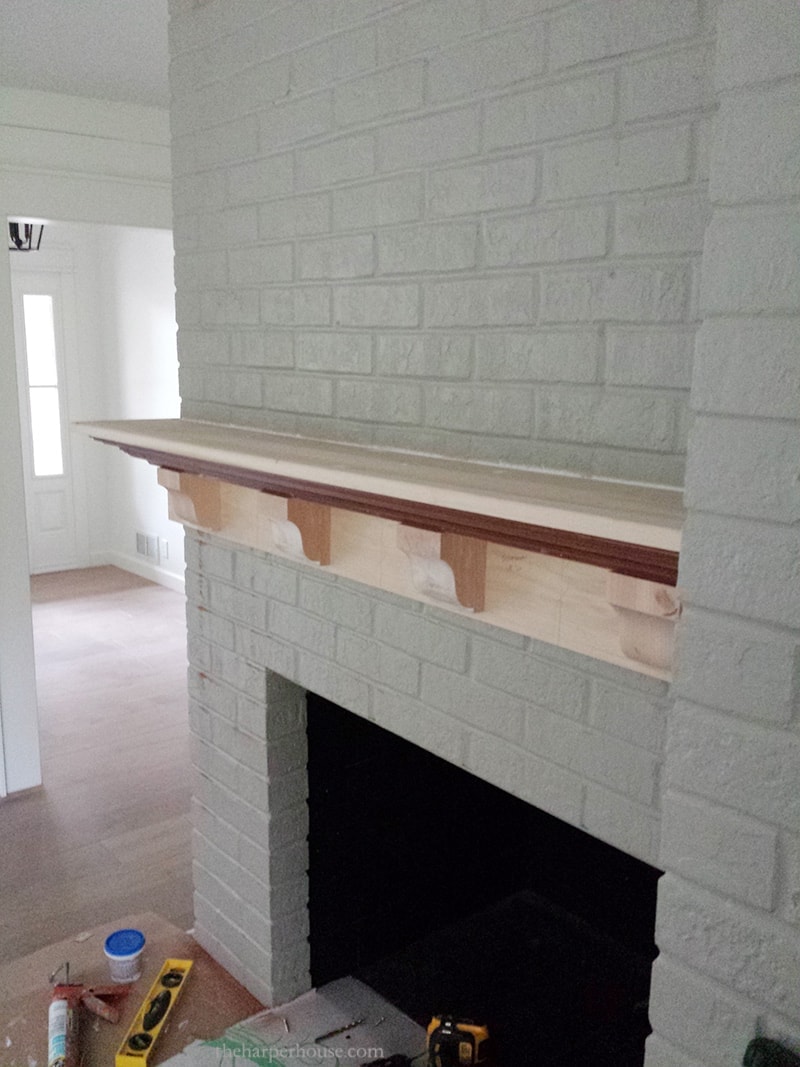
Next was caulk, nail/screw filler, sanding and priming. Since the crown molding was prefinished cherry wood, we made sure the surface was clean and then used Zinsser Bin Shellac primer. This primer adheres really well and sands beautifully. It leaves a really smooth surface for paint. Craig likes to use DAP Alex Plus caulk for woodwork and trim to be painted. It flows and tools well and DAP states that it can be painted over in 30 minutes.
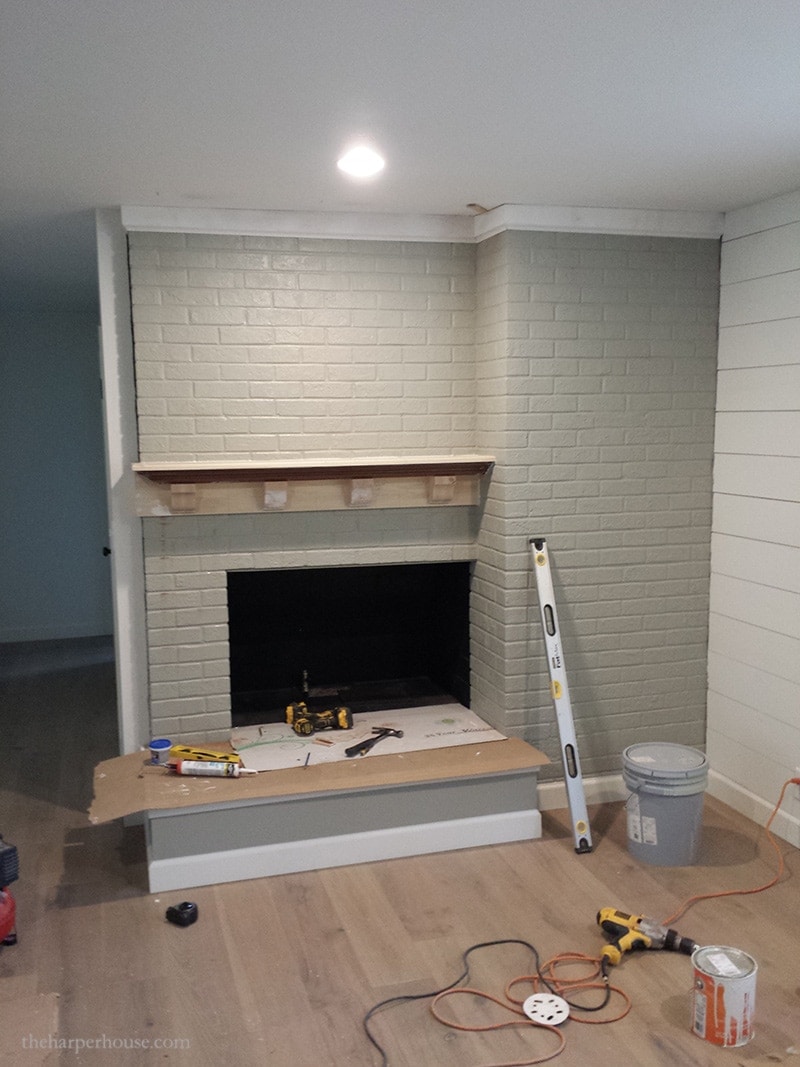
We also added a flat piece of crown molding + cove to better finish the look of where the brick meets the ceiling. I think it turned out great!

Two coats of semi-gloss Sherwin Williams Solo paint finished up the fireplace mantel and wood trim. We had the paint color matched to Benjamin Moore’s White Dove.
brick color: BM Fieldstone
trim & mantel color: BM White Dove
shiplap & white wall color: SW Alabaster
The final step was to caulk around the edges where the brick met the shiplap wall and drywall.


Brick Fireplace Makeover Reveal
And here’s the finished brick fireplace makeover:


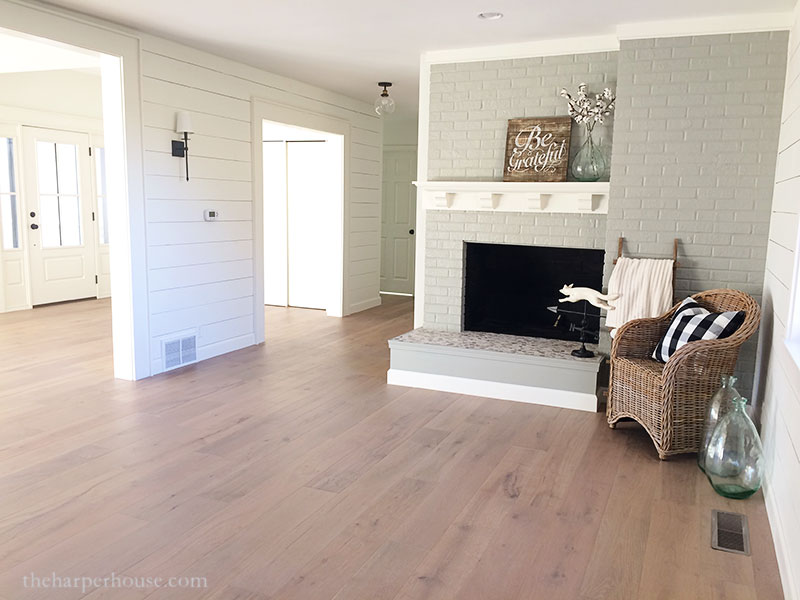

I am seriously IN LOVE with this pebble tile! It adds so much character to the fireplace and it was super affordable too.

Well, that’s a wrap! This post is insanely long and picture heavy, but I hope it helps give you some inspiration for how you can diy your own brick fireplace makeover! I would love it if you pinned some of these pics to Pinterest for me.
Follow along on PINTEREST or INSTAGRAM.
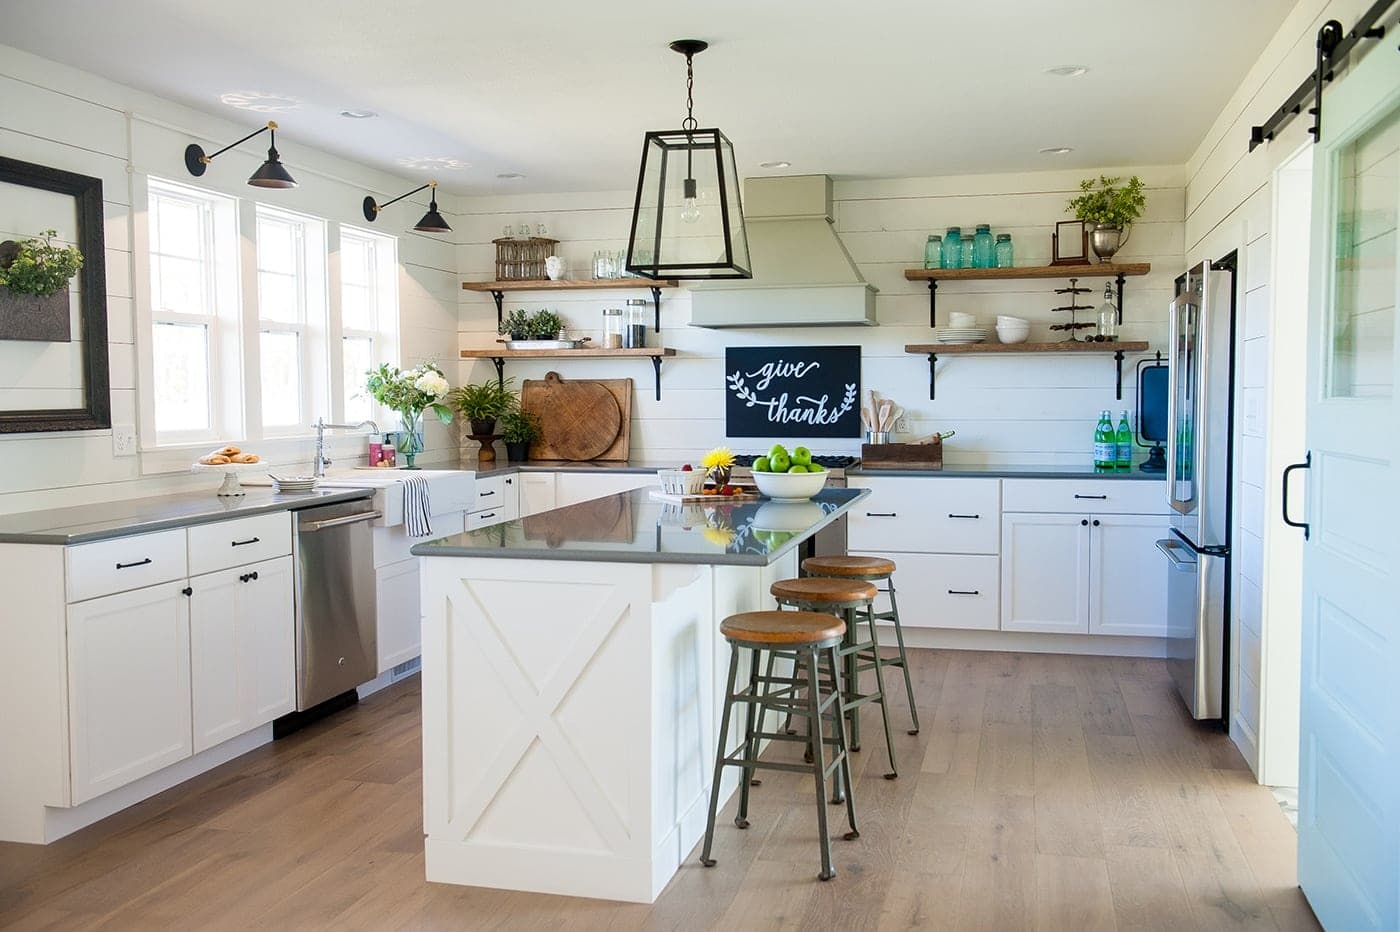
And be sure to check out our Mouse House kitchen reveal and favorite farmhouse paint colors. Have a great week!


I wondered what did you do with the old doors to the fireplace?
My hubby recycled the old doors as they were rusting and weren’t in very good shape.
Did you use a concrete board on the hearth before you tiled using the pebble tiles? Thanks for the ideas, we are looking to refresh the fireplace at our flip house!
Nevermind 🙂 I need to read the entire post! Sorry!
I know this is an old post but I love the fireplace makeover! Will you share the brand and color of the flooring? Everything looks so beautiful. Thanks
Thanks so much Chanda! The floors are white oak engineered hardwood in the color Sedona Silver. We purchased them online from Build Direct and we loved them so much we put them in our current home as well! Highly recommend!
Your fireplace makeover is stunning! I have a similar fireplace and am in the process of trying paint samples to get the right color. Did you find that the paint looks darker on the bricks than it looks on the sample or if painted on a wall? A little more work getting a paint color for the brick than I thought it would be. Seeing your makeover is encouraging! Pam
Thanks Pam! Honestly, I thought our paint color looked a bit lighter on the bricks (but that could be because the contrast of the dark brick vs. the lighter gray was so great) But I’m really happy with how it turned out!
Nice job. Looks good. May want to think about not using the fireplace though. Had a similar hearth in our house. The underneath was actually charred and burnt when we took it apart. I think code is for 2” of concrete for 18” for hearth. Then tile or whatever on top. Stay safe. Love the cobble stones!
thanks for that info Pat!
I love your fireplace makeover. I really want to try to make a mantle like this. Beautiful! Everything you do is gorgeous!
thanks so much for your kind words, Kim! You can definitely do it! Paint and caulk can do wonders as well 🙂 good luck!